NOTES: I generally agree with other modelers who hold the view that scratch building turntables is to be avoided. While I am proud of my efforts. there were lots of embarrassing do - overs and mistakes during the process. Need a turntable? I would suggest checking out the Walther's built-up 90' or Diamond scale kits before going the scratch built route. Also, read this article by Craig Biesgler on his experiences scratch building a turntable here on his site. Special thanks to the Sierra list and many others for prototype pics and lots of advice.
FITTING THE SPACE
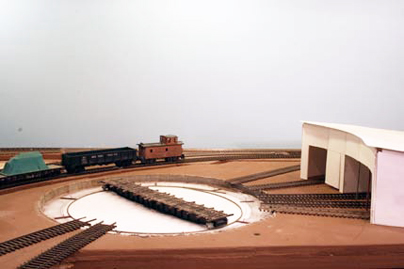
After I decided how long the bridge was going to be, I test fit the TT into the space with a piece of flex track cut to the correct length of the bridge. I built a cardboard rough of the roundhouse to get an idea of how it would all look and fit in the space before I started on the TT. |
|

|
|
|
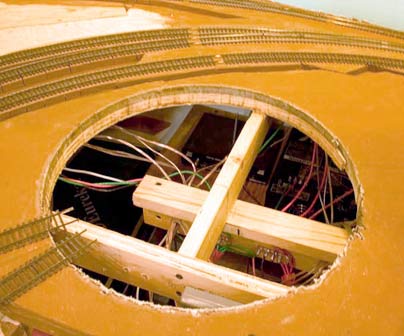
"CAREFUL WITH THAT SAW"
Cutting out the hole for the TT was a little difficult because I had already built significant infrastructure under the layout in the area. Most of the wiring came through this spot in one way or another. I also had to locate screws in the homasote and remove them to free the plywood from the L girder structure.
|
PIT FLOOR
I built the pit of the TT by sandwiching a couple of plywood rings on top of a piece of tempered masonite. Here is the ,masonite floor in place. |
|

|
 |
|
RING ONE
Here is the first plywood ring test fitted in place.
|
SECOND RING
Here is the second ring in place.. |
|

|
 |
|
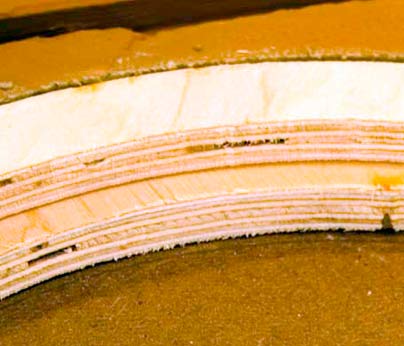
RING CLOSE UP
The pit was made by filling in the space between the bottom ring and the masonite with hydrocal and sanding it into a sloping pit floor. The second ring provided a frame to glue a styrene ring to form the pit wall. Assembly was done off layout and the whole unit was then installed.
|
BRIDGE AND PIT FLOOR TEST FIT
The pit floor has been shaped and the bridge is mocked up to check the fit. Roundhouse is a modified Yosemite Valley structure that once stood in Merced CA. |
|
|
 |
|
SCRATCH BUILT BRIDGE
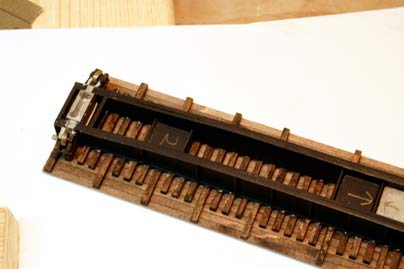
This underside view of the bridge shows the truck assembly. Truing the trucks on the rail proved very tricky. I ended up building a crude truing jig, and it some how worked out.
|
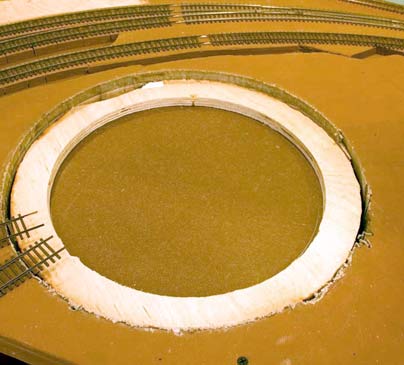
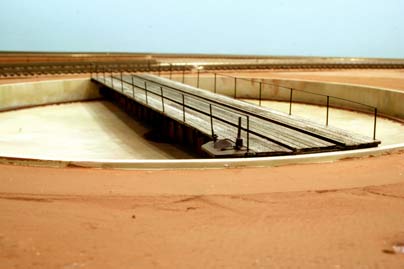
RING RAIL
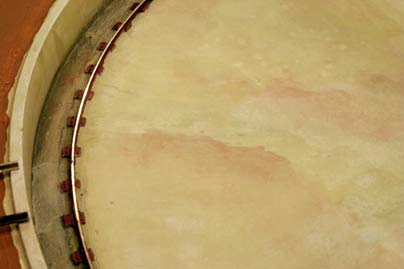
This shot shows the completed pit. Notice the styrene wall and the ring rail.. |
|
|
 |
|
DRIVE ASSEMBLY WIRING
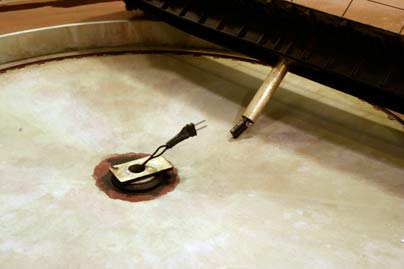
The bridge is powered using a stereo phone jack assembly under the layout to provide a reliable electrical connection. The tube assembly on the bridge is fitted in the hole in the pit drive plate after plugging in the electrical.
|
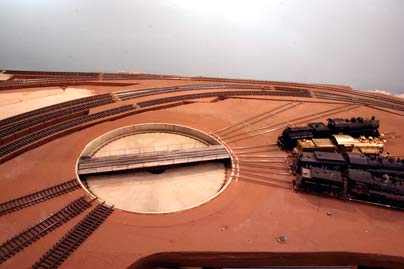
TURNTABLE TRACKS
Final layout of the roundhouse tracks and other tracks is shown here. I hand laid some of these tracks to get a wider tie spacing than is available with flex track.. The plywood pit ring is visible around the TT. I filled the gaps with putty and painted the ground area. Dirt will hide all of the evidence of separate parts. |
|
|
 |
|
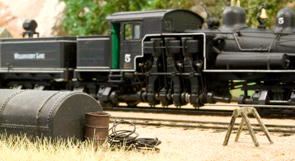
COMPLETED BRIDGE
This shot shows the control end of the bridge. I used some castings from the Sierra MIniatures kit and some fabricated parts to model the controls on the TT at Jamestown. The deck was finished with alcohol and shoe-dye weathered wood.
|
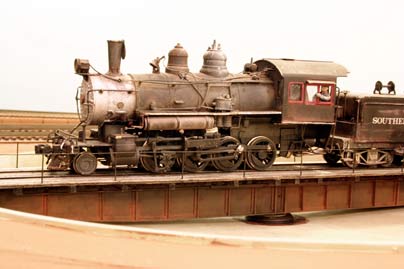
BRIDGE VIEW
View of the bridge with a loco on it. I hand soldered some hand rails from .009" wire to get the proper scale look that I was after. |
|

|
 |
|
ANOTHER BRIDGE VIEW
This off - angle view shows the weathering on the bridge. I used chalks on the girders and paints on the pit and pit wall.
|
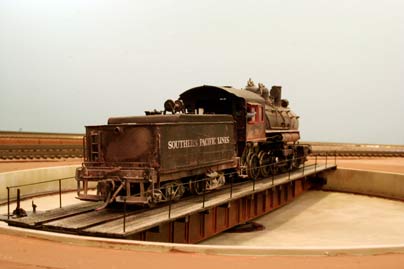
WSM #24 ON BRIDGE
View of WSM Sierra #24 lettered for the SP. This model was weathered and detailed by John LaBarba. I will eventually get around to re-lettering in for the Sierra RR.. |
|
|
© 2012 by Guy Cantwell
All rights reserved
|